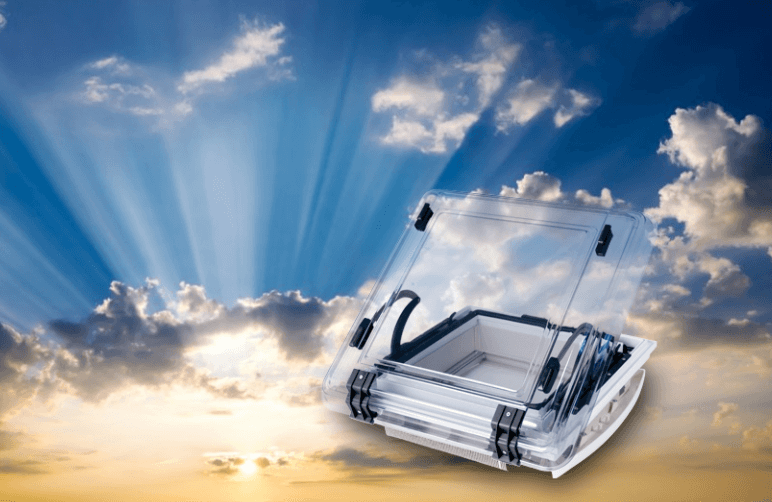
Skylights are one of the simplest yet handy elements of a caravan. Decades ago, the skylights were made up of orange plastic or glass. This provided a very nice touch to the interior of the caravan during the daytime. A golden shade of light passing through it glittered everything inside.
As the time passed, manufacturers shifted from orange plastic to white translucent skylights. In most cases, these skylights are double layered. The reason to shift from transparent orange plastic to double skinned white translucent plastic was to enhance plastic.
While orange plastic improved the aesthetics, it also increased humidity levels in the caravan. Constant high levels of humidity cause a lot of damage to the components inside. Due to such reasons, manufacturers introduced double-layered skylights in the caravans.
Although you get much better ventilation, these types of skylights get dirty with time. So, if you want to know how to replace a caravan skylight when it breaks or gets dirty, you have landed just the right place.
Without any further delay, let’s find out the ways to replace a caravan skylight.

Replacing A Pop-Up Caravan Skylight
If you want to replace your pop-up skylight for whatsoever reason, here is the list of required tools:
• A small knife or a flat-blade screwdriver.
• Mastic Sealing Strip.
• A flat blade with a wide end.
• White spirit and a cloth.
• A Crosshead screwdriver.
• A Ladder
You will find most of these tools in your household tool kit except the mastic sealing strip. You can get this sealing strip from any store that deals in caravan repair parts.
Dismantling Your Skylight From Inside
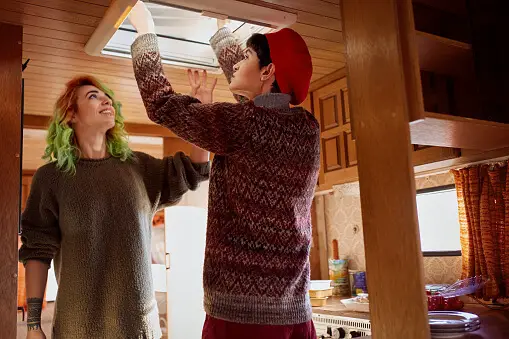
The procedure starts from the inside of the caravan. Start by removing the screw caps on the inner trim of the skylight. Once the screw caps are removed, identify the type of screws. Use the screwdriver according to the kind of screws. Usually, there are four screws, one on each corner of the trim. Generally, the inner trim is compromised on two parts; the flyscreen and the blind.
Flyscreen and blind, if not broken, can be useful for you in the future. Simply clean them and store them where you keep spare parts of the caravan.
After removing the inner trim, you will see that four metal clips hold the remaining structure. There will be a screw at the end of each metal clip. To save some of your energy, don’t remove the metal clips; instead, loosen them. They should be loose enough so you can turn them around to remove the structure.
Dismantling Your Skylight From The Roof
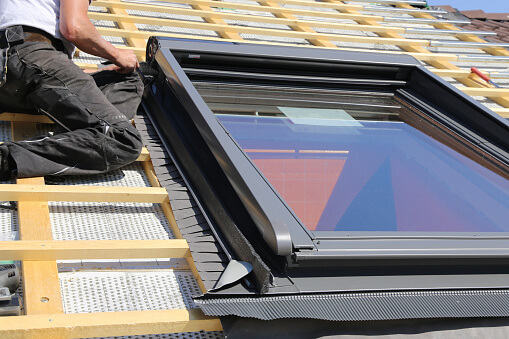
The easy part is now over. Place a ladder on the side of the caravan as close to the skylight as possible. To access the skylight from the upper side, you will have to climb onto the roof of your caravan.
The caravan’s roof is not made to endure your whole weight, so ensure that you distribute it properly. For this, lay on the top instead of standing to do the job. Grab the flat blade with a wide end and break the mastic seal from the skylight base.
Mastic seal is bound to the base of the roof, so be very careful; otherwise, you will end up damaging the roof. To make things easier, place the ladder on the other side after breaking the mastic seal from one side. Otherwise, you will have to over-stretch, and the procedure will become more complex.
You can easily remove the skylight once the seal is broken from all sides. If you are unable to lift the skylight, then the seal is not appropriately broken.
Installing The New Caravan Skylight
After removing the previous dirty or broken skylight, remove the old mastic properly. To do this, use a metal scraper. As mentioned earlier, be very careful while removing the old mastic as it is attached to the roof. With years, the mastic becomes grippy, and removing it becomes a challenging task. Even the slightest carelessness can result in a broken roof.
After removing the mastic seal, apply white spirit using a cloth on the surface. This will remove any remaining mastic seal from the surface and provide you a clean finish.
The next step is applying the new mastic seal. For this, take the measurements of all four sides of the skylight compartment. Cut the mastic seal evenly according to the sides. To apply the seal, try to get a 90° for best placement. Trim the excessive seal; otherwise, it will gather dust particles and lose effectiveness.
Before placing the new skylight, clean it properly from all sides. Any dust particles left on the surface of the skylight can affect the sealing process. After you are confident that the skylight is perfectly clean, gently place it on the mastic seal.
Apply pressure on the edges and corners of the skylight so that it is completely sealed. The amount of force should not be tremendous as it can break the seal.
After seating the skylight on the roof, climb down the ladder. The next thing you have to do is secure the skylight panel from the inside. Follow the same steps in reverse and fix back those screws and clips. If an inner trim comes with the new skylight panel, congratulations; otherwise, simply clean the previous one and place it back.
By following these steps and a little assistance, you can easily replace a caravan skylight yourself.

Summary
The labour cost of repairing and replacing caravan parts is increasing day by day. This is the main reason why more and more people are shifting towards DIY projects. Replacing a caravan skylight is one of the simplest DIY projects.
With little assistance and some guidance, anyone can easily do it. For this purpose, we have made a detailed guide on replacing a caravan skylight. Most of the tools required in this process are pretty simple and are easily found in every household kit.
You start by dismantling from the inside using screwdrivers. You can get the job done by simply unscrewing some screws and removing the inner trim. Then you move to the top and carefully remove the old skylight by breaking the seal.
The next steps involve placing the new skylight and tightening it from the inside. By following these steps, you can easily replace a caravan skylight in no time.


Thanks, this article was so helpful, I took my time removing the old unit and managed to break the handles due to me not understanding how they worked. No loss as I was replacing with BRAND NEW anyway.
MARCH 10th 2023 , I contacted my regular service caravan man and he was fully booked till month end.
I talked to two others , they were booking even further ahead.
Prices were £250, £350 and £400 for a new unit fitted.
I managed to source and buy a branch new unit cost including delivery and vat £69.99 . I didn’t enjoy the job but I was thrilled with the cost and the helpful easy instructions.
THANK YOU SINCERELY , A TOURING CARAVANER
That’s brilliant to hear, well done on repairing it yourself.