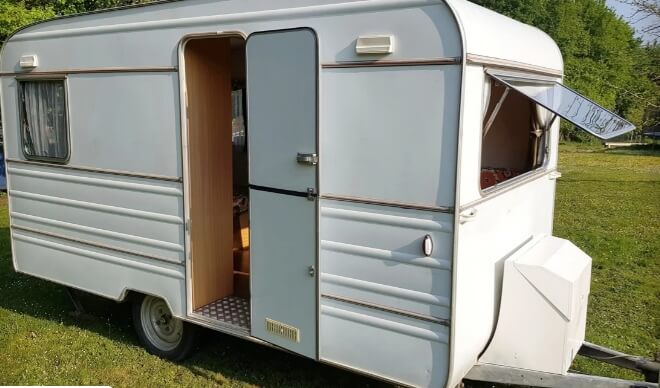
Don’t all of us grow up fantasizing about buying our own caravan one day? We do, but today you need a good amount of money to buy a brand-new caravan. This is the reason why people now prefer buying second-hand leisure vehicles over a zero-meter caravan.
While buying a used caravan saves you loads of money, it has its own drawbacks. There is almost no way to avoid the wear and tear that comes with the passage of time. When you are buying a used caravan, you don’t have many options.
You have to compromise on certain things, and a caravan door can be one of these things. Doors are one of the most constantly used components of the caravan. With time, their sturdiness can decrease significantly.
Have you also bought a used caravan with an unreliable door? Want to know how to replace a caravan door? Buckle up your seatbelts because we are going on the ride to find “How to replace a caravan door?”.
Replacing An Old Caravan Door
We are sorry to burst the bubble for you if you think that this is an easy task. You don’t need to be a certified professional for this, but some basic knowledge of materials and tools is still required.
We have divided the whole process into two main parts for your convenience. These parts are removing the old frame and installing the new one.

If you are confident that you can complete this task successfully, then here are the steps to do it:
Steps To Replace A Caravan Door
The procedure starts with removing the old door frame. It might sound as simple as unscrewing some nuts and placing the door aside, but it isn’t. There are various small steps involved in removing the old caravan door. These steps range from simple to complex ones, so be ready.
1. Remove The Old Caravan Door
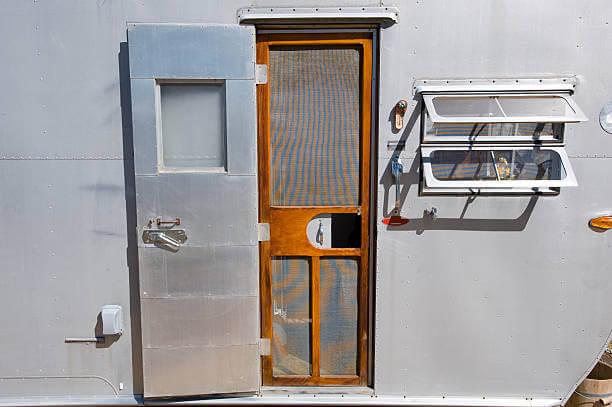
Your first target is the hinges that attach the door with the frame. Simply unscrew these hinges one by one and dismantle the door. Be very careful while doing this because the door can fall on you. To avoid such situations, start unscrewing the door from the bottom.
After removing the door, take it away from the action area to avoid bothering you during the remaining procedure.
2. Removing The Decorative Finish
Inside the caravan, there are inner finishing strips covering the screws on the frame of the door. The next step is removing these decorative finishes to reach the inner frame. Use a flat blade with a wide end to remove these strips.
3. Unscrew The Internal Door Frame
Once you have removed the decorative strips, the screws of the internal door frame will be in front of you. Gently unscrew the whole structure so that the body of the caravan is not damaged.
3. Cutting Through The Glue
The frame is not only fixed with the screws, but it is also glued from the inner side. To remove the frame, you have to cut through this glue very carefully. For this purpose, we recommend you use a sharp paper cutter.
This will help you cut through the glue with precision.
4. Removing The Door Frame
After properly separating the door frame from the glue, you have to remove it. To do this, move outside and hold a screwdriver. To loosen the frame from the outside, move the screwdriver between the frame and the caravan’s body.
This will cut the glue that holds the frame from the outer side.
5. Trimming The Insulation
The next step in the procedure is trimming the excessive insulation to make place for the new door frame. Be very careful while doing this because there could be wiring near it. To be on the safe side, push back the wiring deep into the door aperture.
6. Take Measurements
Carelessness in this step can cost you a lot of time, energy, and money. Take the measurements of the door and then the aperture. You can’t afford to make a mistake in this regard. If the cut you have made in the aperture is smaller, you have to repeat the procedure and cut again.
These kinds of mistakes are still acceptable. But if you cut the aperture larger than the door you bought, you will have to fill the gap with a sealant. This will not only ruin the look of your caravan, but it will also decrease the reliability of the job.
The safest way to do this is by using a cardboard sheet. Place the sheet on the top of the door and cut all the edges properly so that you get the exact measurements. Place the cardboard on the aperture and then cut accordingly.
7. Apply Glue To The New Frame
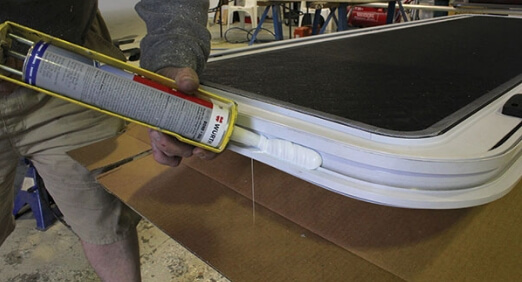
Lay down the new door frame on a table and apply polyurethane glue to all sides of the frame. Try to apply the glue evenly for proper fitting. After you have applied the glue, place the door in the caravan wall’s opening.
Fit the screws and let the glue do its magic overnight.
8. Finishing
The last step is applying the decorative inner finishing strips to hide the screws. Use a heat gun to keep the T-mould from folding around the corners. Add matching color rivets to secure the door properly and to provide a neat finish.
Congratulations! You now know how to replace a caravan door.

Summary
Over time, the doors of the caravans can get loose and become a headache. In some cases, doors are damaged due to accidents or any external factors. To be honest, doors do not come cheap, and labour can disturb the budget even more.
Fortunately, with proper guidance, you can easily replace your caravan’s door. To do this, you will require materials that are mentioned in the guide. Although replacing a door sounds like a simple task, it requires sheer focus and basic mechanical aptitude.
In a nutshell, replacing a caravan door is not easy, but it is not impossible either. Simply follow the instructions given in the article and you are good to go.


I need to remove the A frame from the front of my caravan to fit it into my garden. Can anyone tell me how I go about doing this?